# Tutorial: Using the new Terrain Tool in Unity 2019.1+
The terrain tool in Unity is one of the most powerful assets available when creating an expansive game environment. It allows you to add miles of explorable land and background imagery into your game in very little time.
Terrains have both *aesthetic* and *dynamic* uses. Aesthetically, they allow you to create custom, yet organic looking mountains, bridges, lakes, and rivers very quickly, yet with the capability of precision modeling. On the dynamics side of things, you can use the terrain tool to surround your level or play area to ensure the player isn’t able to navigate outside of your map bounds. Similarly you could outline the expected path of the player by modeling the earth around them.
In this lesson, we’ll be installing and activating the newly updated Terrain Tool package in Unity, and then we’ll use it to create a mountain range with organic-looking features and realistic textures.
**Setting up the Terrain Tools Package**
As of Unity version 2019.1, an updated terrain tool has been added to the package list. This updated package adds new sculpting tools, utilities, and textures to help speed up the modeling process and automate tedious tasks. We’ll need to install that, along with some sample assets that Unity included with the package before we get started.
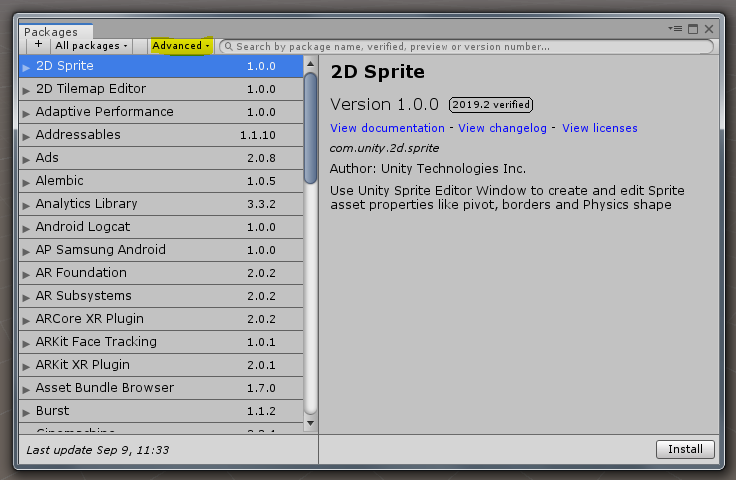
First, navigate the menu system to “**Window -> Package Manager**” to open up your package list. Click “**Advanced**” and enable “**Show Preview Packages**”.
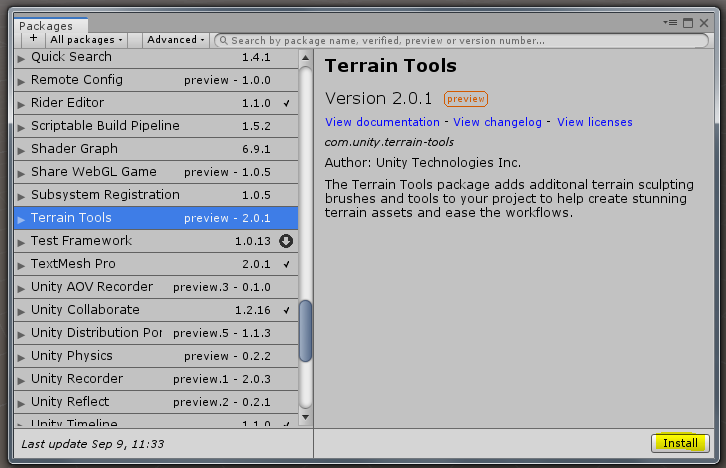
Next, click on “**Terrain Tools**” on the left menu-pane and hit the“**Install**” button on the bottom-right.
Finally, once the package is installed, we’re going to click on “**Download Asset Samples from Asset Store**” in order to pick up all the new brushes and textures that Unity has released. At this point, you may be asked to log in to the web version in order to download and import the assets.
\
**Creating Your Terrain Object**
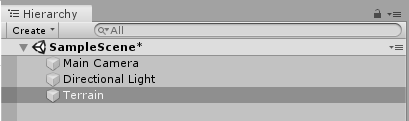
Now that we’ve got our tools installed and imported, we’re ready to get started! Within the Unity editor, you’ll want to create a terrain asset. To do this, either click “Create” under the Hierarchy pane and choose “**3D Objects** -> **Terrain**” or alternatively, right click anywhere within the Hierarchy pane and choose “**3D Objects** -> **Terrain**”.
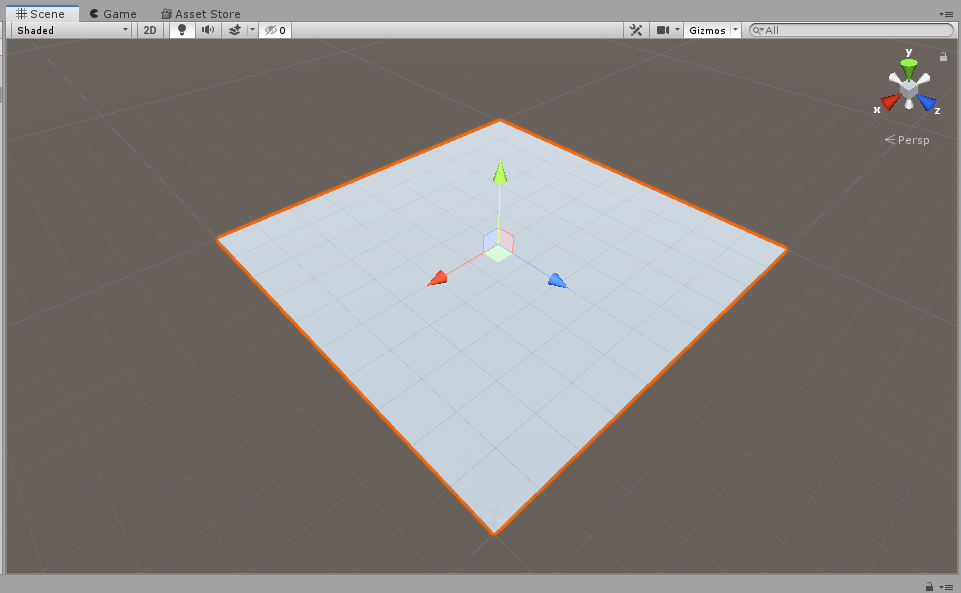
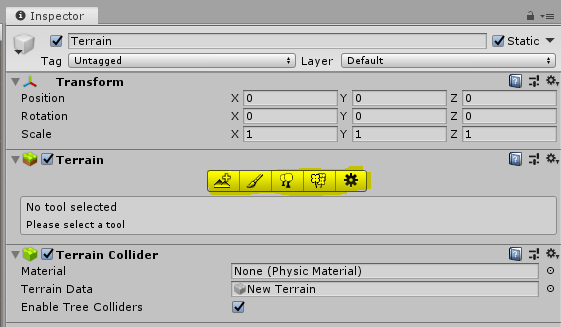
Once you’ve done this, a large flat plane, or **Terrain** object, will be created in your scene. You should see it both in the 3D viewport as well as the Hierarchy pane. If you select the Terrain object and look at the Inspector window, you’ll notice two Components attached to it. The Terrain component gives you the sculpting tools and options to modify the Terrain itself. The Terrain Collider component gives the Terrain its own collider to react with other physics-based objects in the world.
**Sculpting Your Terrain**
Now that we have our initial Terrain object created, it’s time to get creative! There are a few tools here at our disposal. I’ll go over each of them in order.
* First, we have the **“Create Neighbor Terrains” tool**. It allows you to extend your terrain in any direction. The new version even matches the neighboring height-maps!
* Next, we have the tool you’ll likely be using most, the **“Paint Terrain” tool**. This tool allows you to both raise terrain or lower terrain (hold *Control* + *Left Click* to lower), paint textures, create erosion or smoothing, and much more.
* The **“Paint Trees” tool** allows you to choose tree and large foliage assets to “paint” across the terrain with full height and density controls.
* **“Paint Details”** allows us to paint small foliage and details such as grass and pebbles. Most of these using 2D images with bump-mapping for effect.
* Finally, we have the **“Terrain Settings” tool** which gives us advanced options such as materials, draw-distance settings, and wind settings for grass and trees. One notable option, however, is the terrain’s width and height options available under “**Mesh Resolution**”.
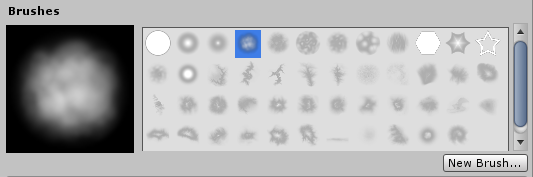
For our initial sculpting, we’re going to be using the “Paint Terrain” tool. After selecting it, you’ll first notice a large selection of brushes. These are what we’ll use to paint various types of brush/surface shapes. Experiment with the different brushes to see what looks best for your project.
If you move down to “**Stroke**”, we have a few very useful settings including “**Brush Strength**” and “**Brush Size**”. These will change how quickly the terrain is raised or lowered, and how much of it at a time respectively.
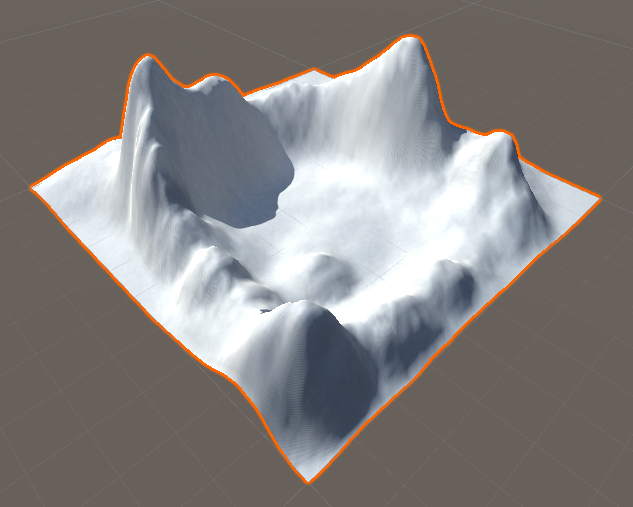
Here, I’ve used the **“Raise and Lower”** function to create a very simple mountain range.
Next, we want to add a bit of randomness to our mountain range to give it a bit of extra organic detail. For this we’ll click on the “Raise or Lower Terrain” drop down and choose “Erosion”. I’ll go with Hydraulic erosion, which is erosion caused by water based on a fluid-simulation. You also have a choice of thermal and wind erosion. After raising the brush size a bit, I’ll go ahead and add some details across my mountain range.
**Adding Textures and Visual Elements**
Adding textures to your terrain object is easier than ever. First, you’ll want to create a layer for each texture you would like to include. In our case, we downloaded a few sample layers with the new Terrain tool when we started, so we’ll be adding those.
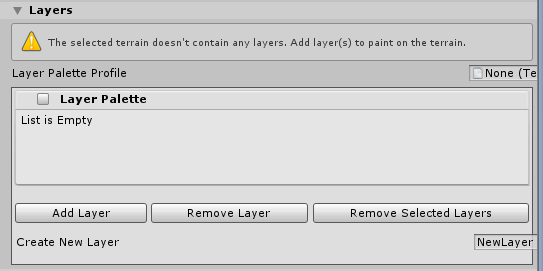
Still within the “Paint Terrain” tool, you’ll see a “Layers” pane near the bottom. Expand that section and you’ll be shown the Layer Palette. This is where we’re going to import and use our pre-made layers. Simply choose “Add Layer” and select any of the layers you plan to use. The layers included in the sample pack include dirt, moss, rock, sand, scree, and snow.
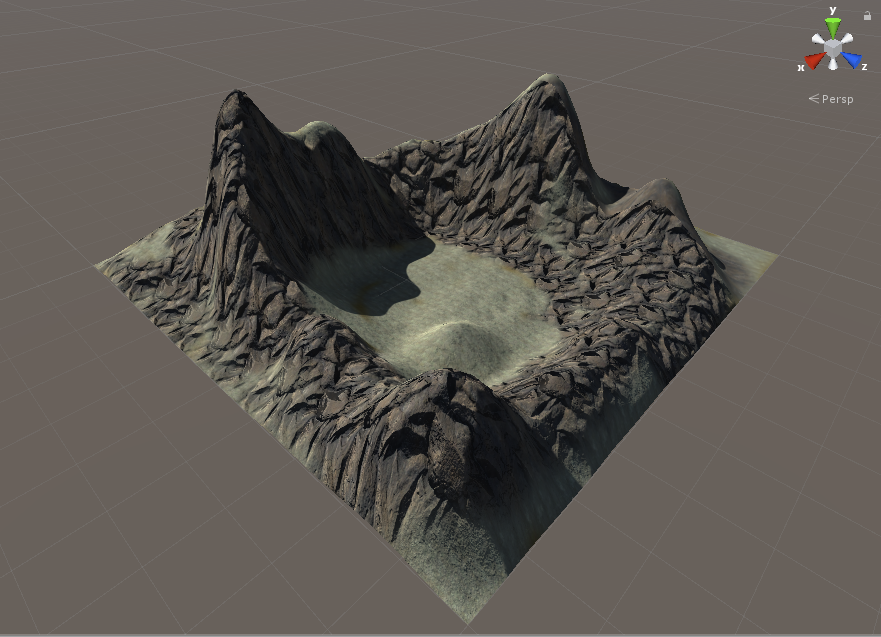
After adding all of the layers, simply choose the layer you would like to paint with and have fun! You’re given familiar options like brush size, but you’ll also have some texture/material specific options like metallic, smoothness, and tile size/offset. Here I’ve used the default layers to paint our mountain range with some rocks and dirt.